 CLICK HERE TO SEE OUR SECRET HOLIDAY SALES

Five Steps To Make and Enjoy Your Own Leather Coaster
Sometimes we just need to smell the leather and enjoy a little Cowboy DIY.

Step 1
Gather your supplies
The links below are affiliate links for your convenience (which means if you make a purchase after clicking a link I will earn a small commission which helps keep my blog up and running but it won’t cost you a penny more)! Click here to read my full disclosure policy.
- Coaster Kit (4 Coaster Blanks)
- Wood or Poly Mallet
- Leather stamps


- Sponge
- Marble Slab or Hard Surface
- Leather Dye and leather sheen
Step 2
Dip your sponge in clean water and wring out the excess. Wet down the leather piece on the smooth side with a damp sponge. This allows the leather to except the imprint of the leather tools better.
Step 3
With the coaster blank on the marble or hard surface, place your stamp where you want it and hit it firmly with the mallet. The impression will be deeper the harder you hit the stamp. (It is a good idea to practice so you know how deep you want to get your impressions.) Continue stamping until your design is complete. If the leather gets dry, just re-wet the piece. With a coaster you might want to make a circular pattern.
Step 4
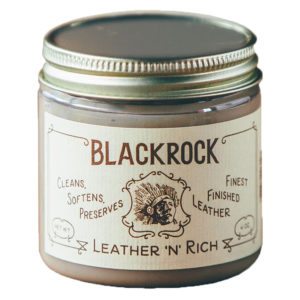
(Optional) Apply leather dye according to the instructions on the package. Once the dye had dried completely, apply the leather sheen according to the instructions on the package to shine and condition the leather. We like to use Black Rock for our conditioning.
Step 5
Use and enjoy!
Always, Bridget – the cowboy wife
PS. You may also want to check out All in a days work…at the Leather Shop or How To Care For Your Saddle!
PPS If you have any questions, shoot us an email at bridget@cowboyspecialist.com


